In this dental case, Dr. Ashraf Samir Refai provides a step-by-step guide showing how he saved a fractured palatal cusp on upper 2nd premolar.

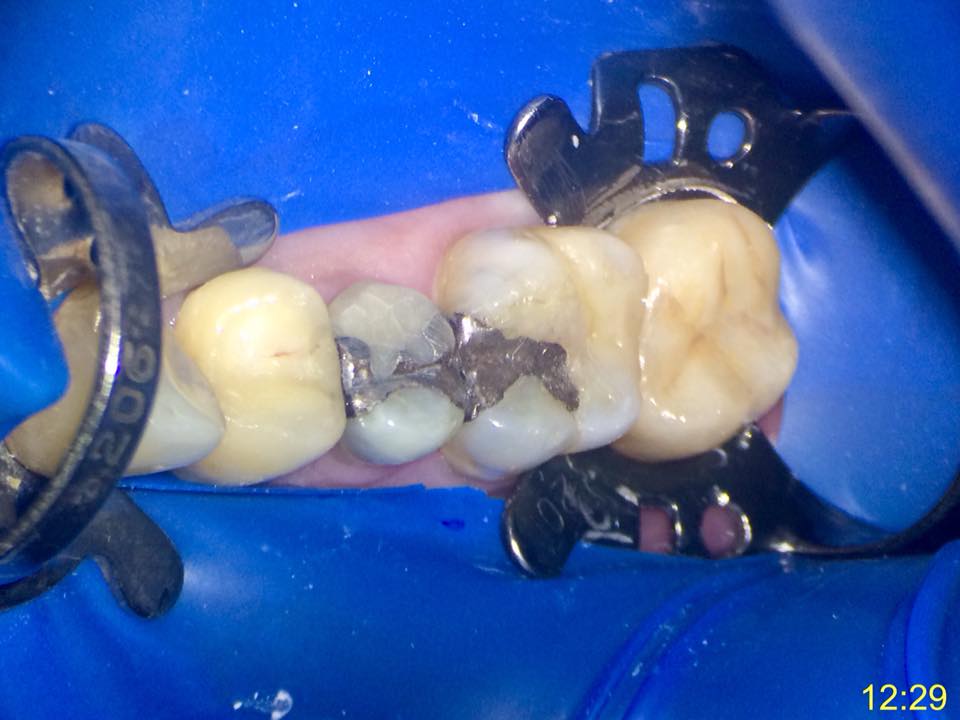
Visit 1: Patient Profile & Diagnosis
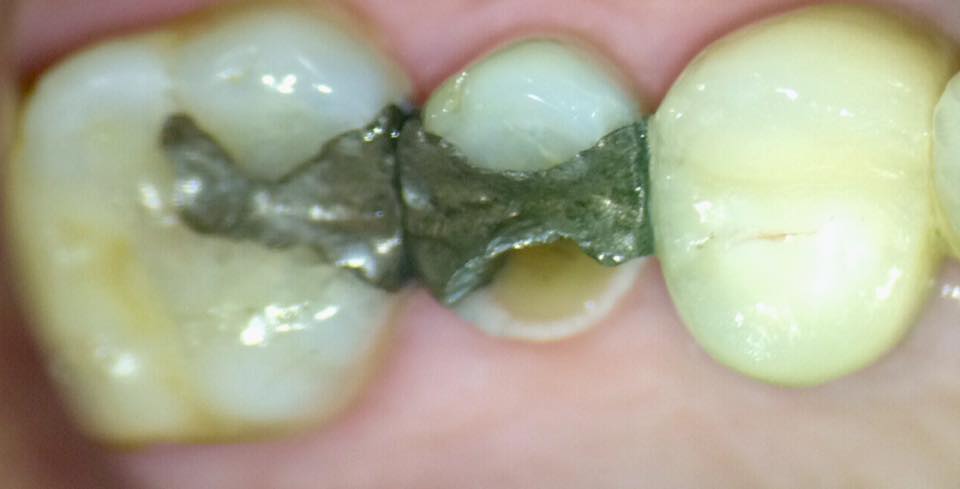
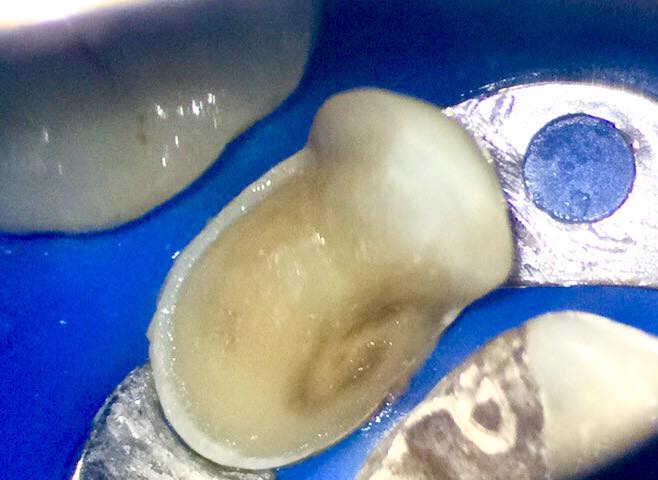
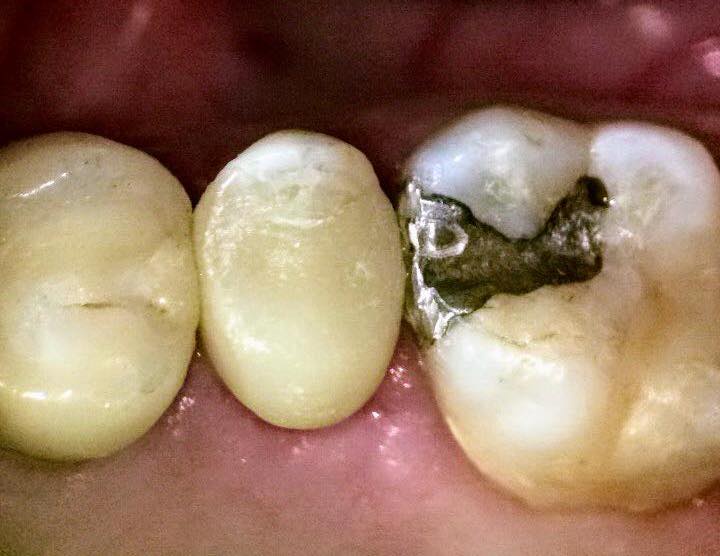
A 70-year-old female patient came with a palatal cusp fracture of an old amalgam filling on tooth upper 2nd premolar( #4 ), which I had placed 20 years ago. The amalgam filling persisted.
A temporary GI filling is placed and gave her an appointment for definitive treatment.
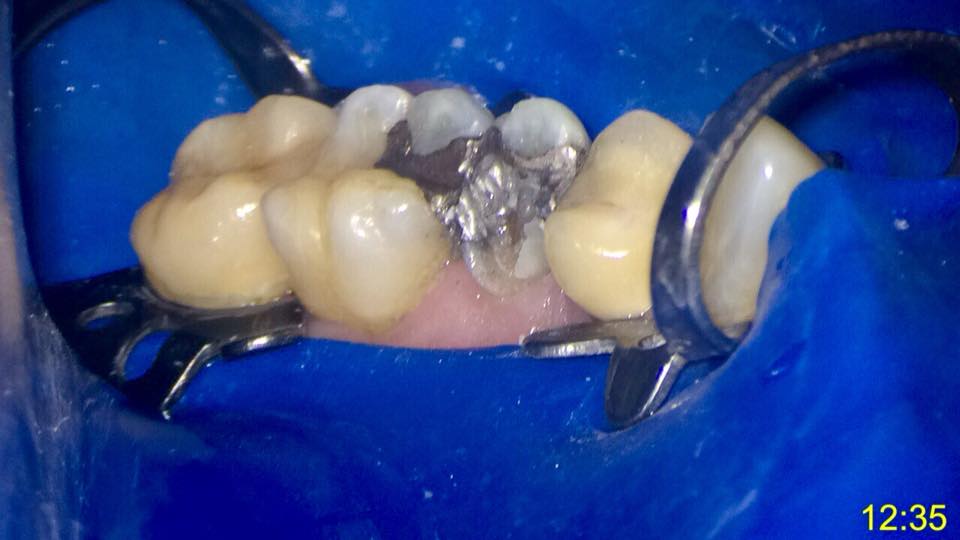
Visit 2: The Definitive Treatment:
On the second visit, the treatment plan is as following:
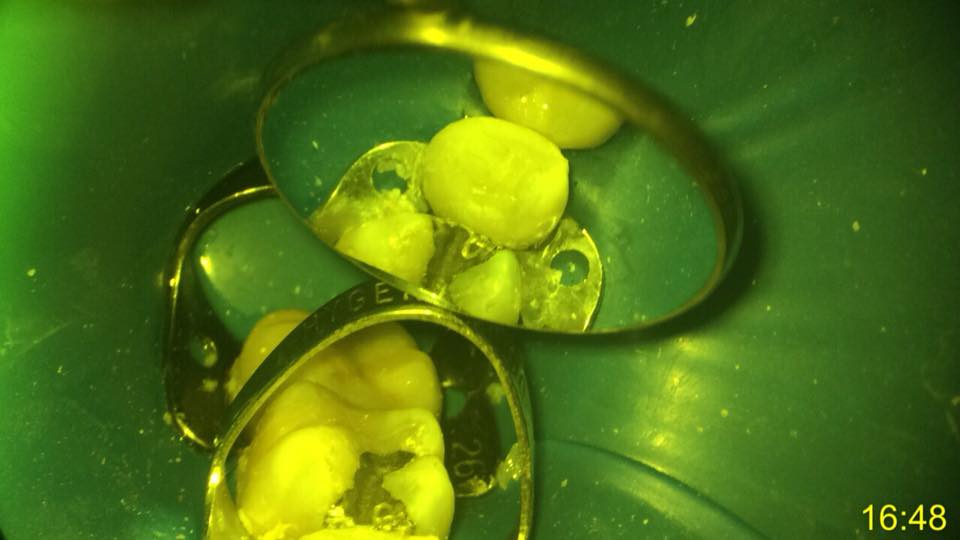
- Isolation Via Rubber Dam
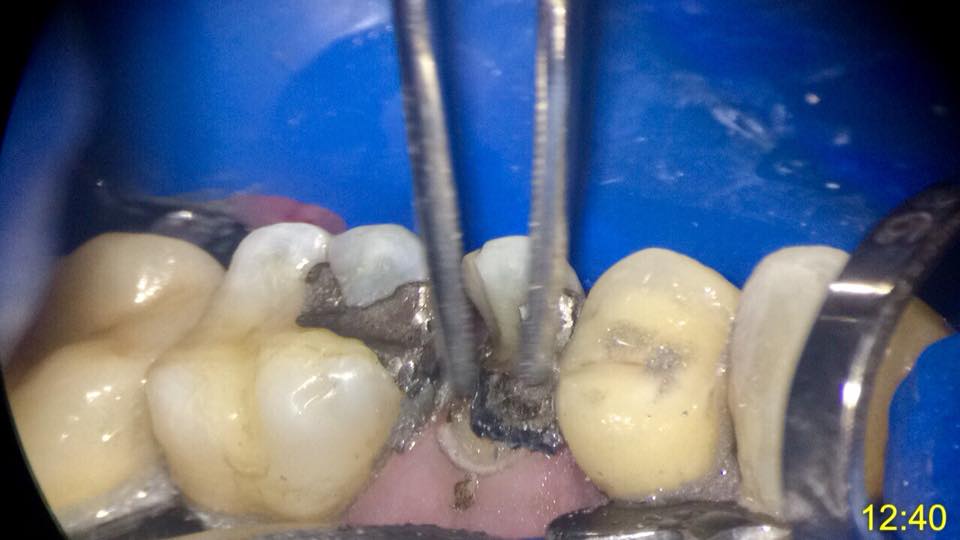
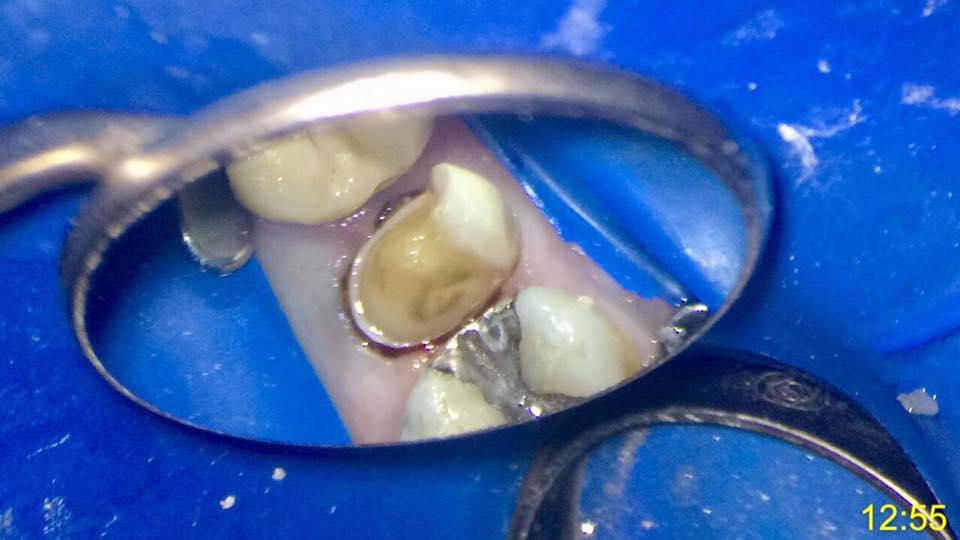
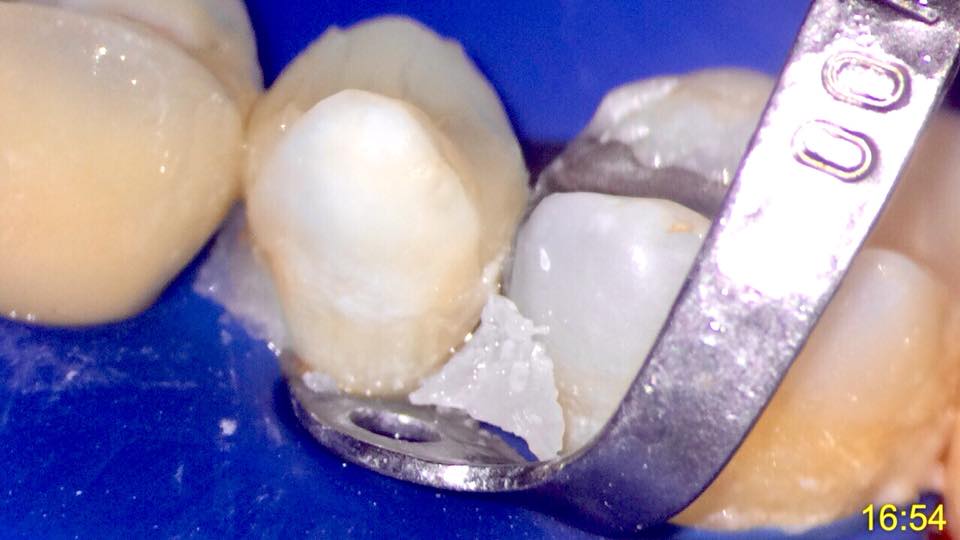
- Remove both the temporary filling and amalgam filling and Inlay Preparation.
- Tissue retraction using cord and Teflon.
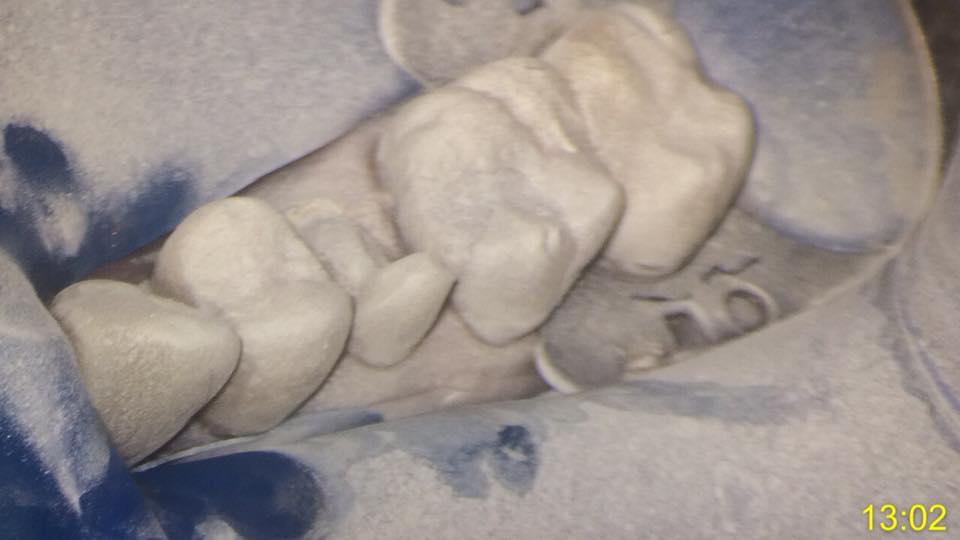
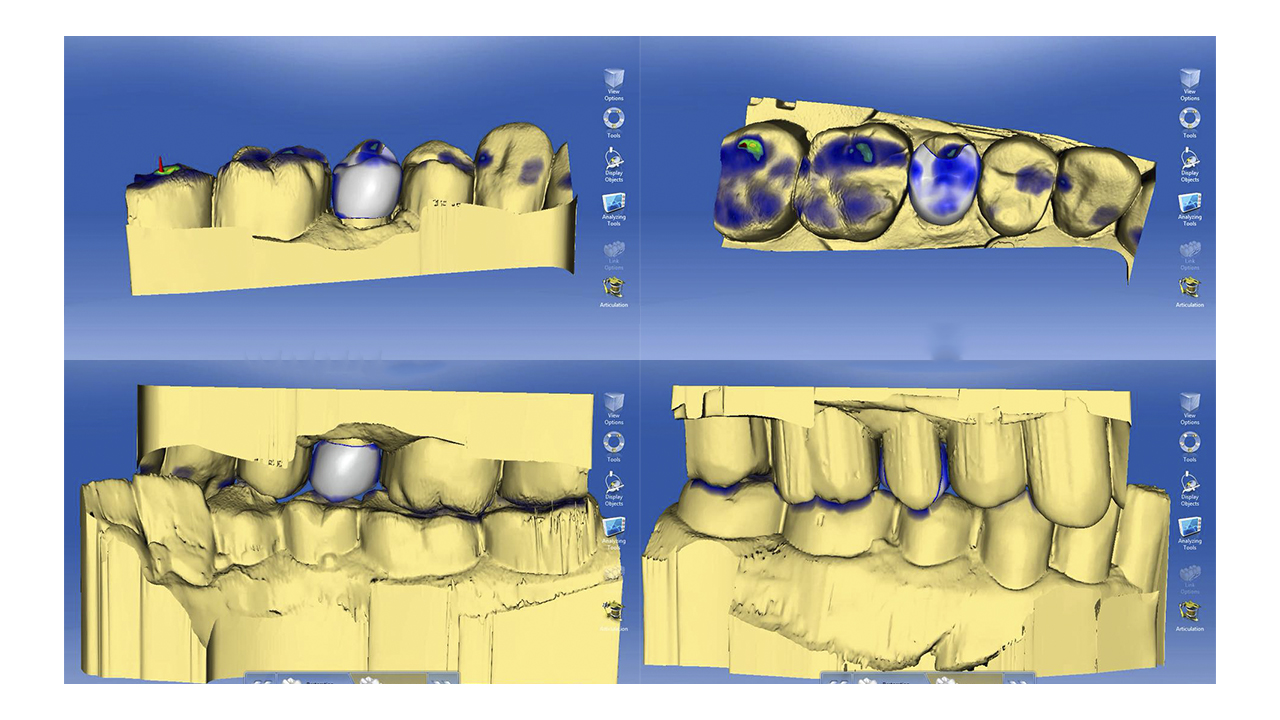
- Digital impression.
- Restoration Construction in Cerec (cad/cam) emax.
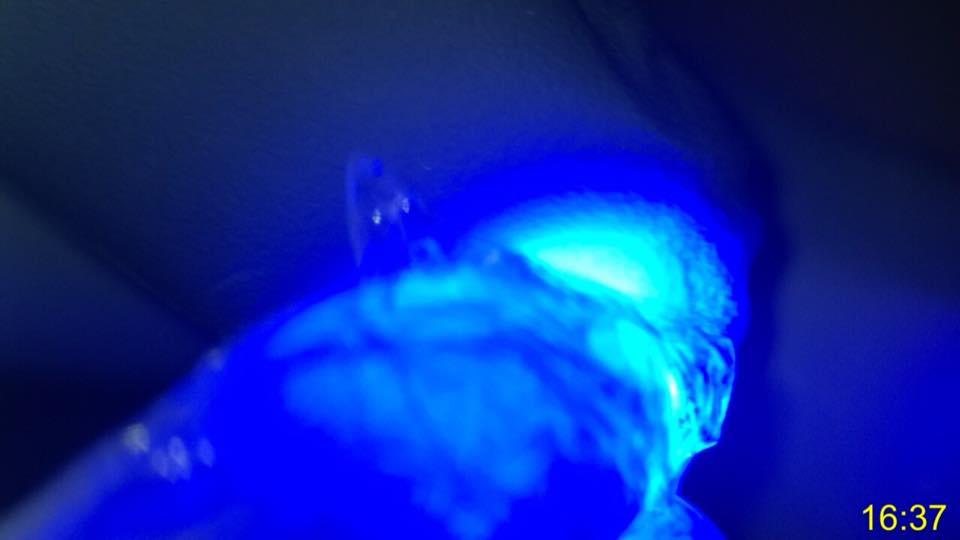
1. Rubber Dam Placement
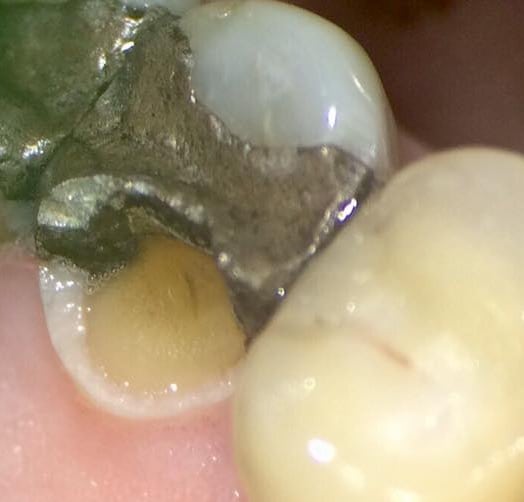
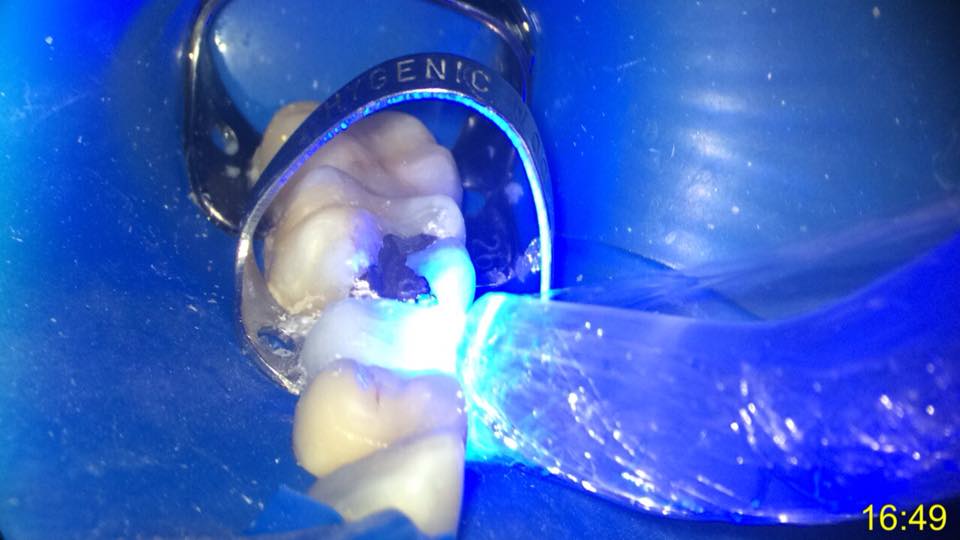
2. Old Restoration Removal & Inlay Preparation.
The buccal cusp was thick at the base above 2mm and it isn’t the functional cusp. In Respect to the patient’s age (over 75 years old) and wishes ( she didn’t want to go through a root canal, post and core and crown). If it was treated for a crown and I had reduced the buccal cusp there would be no retention at all, thus an Inlay was the preferred treatment.

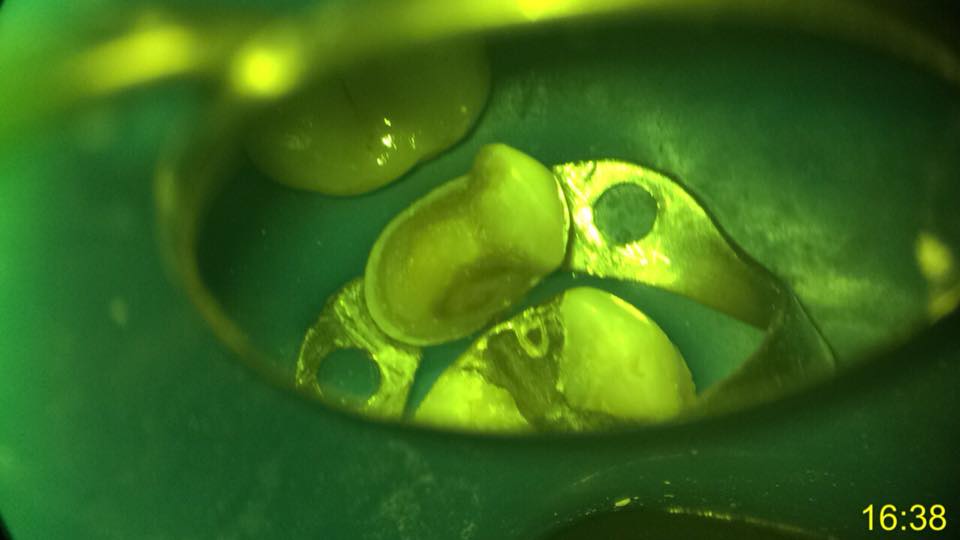
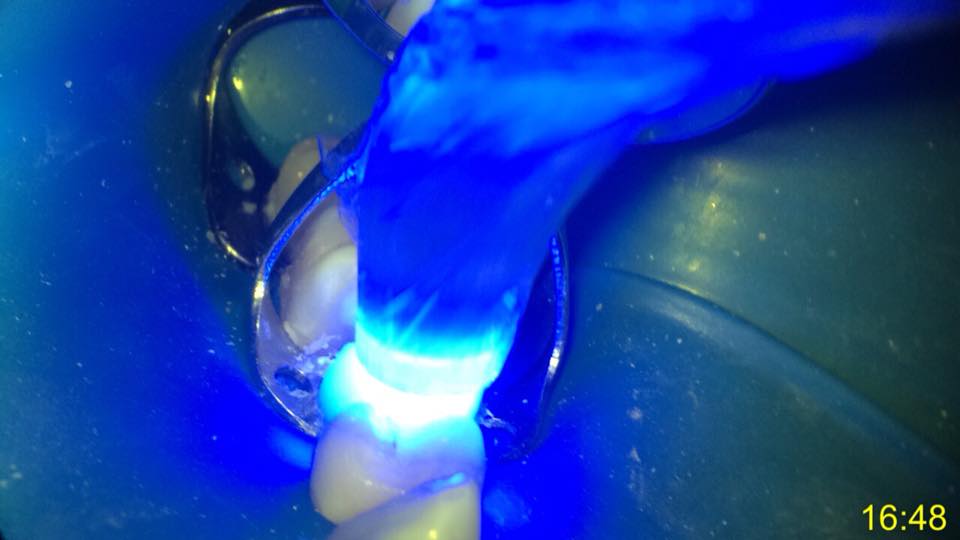
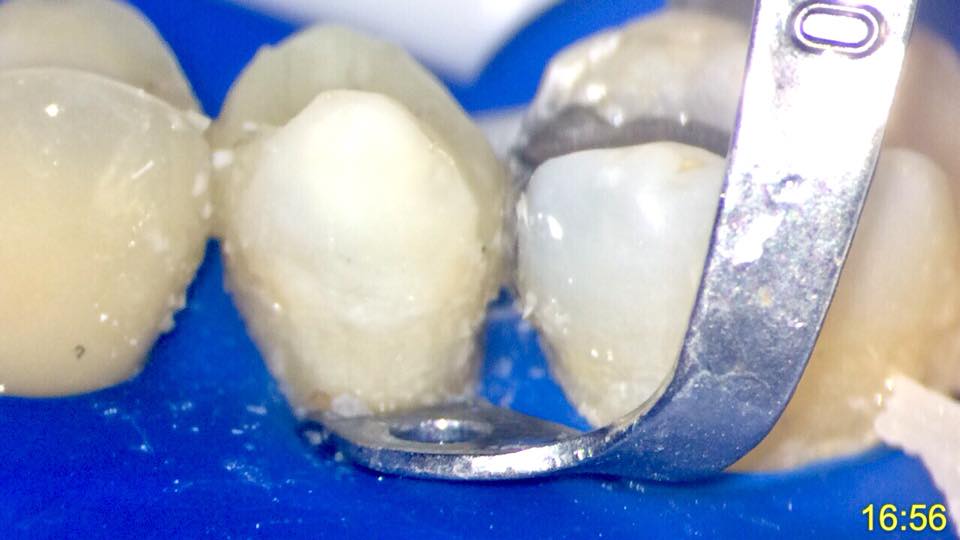
3. Tissue retraction
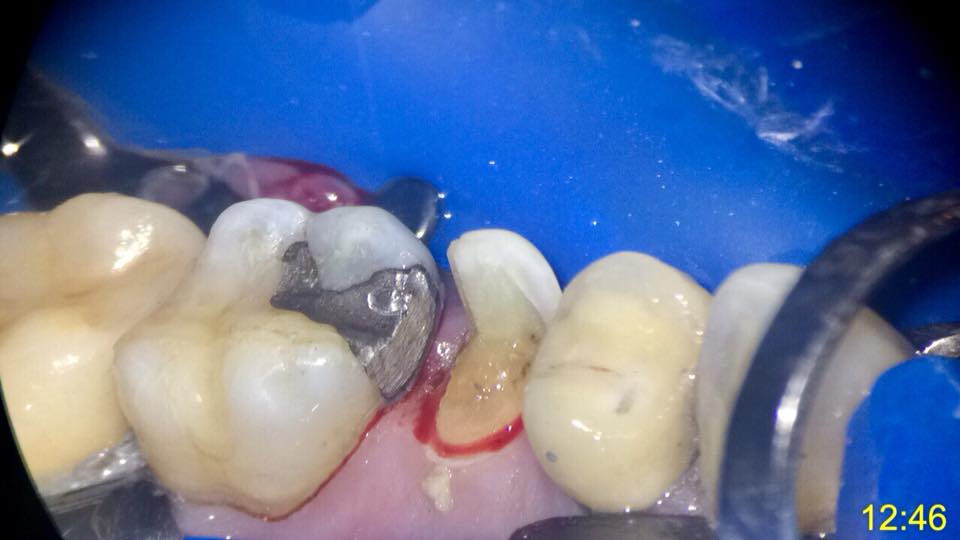
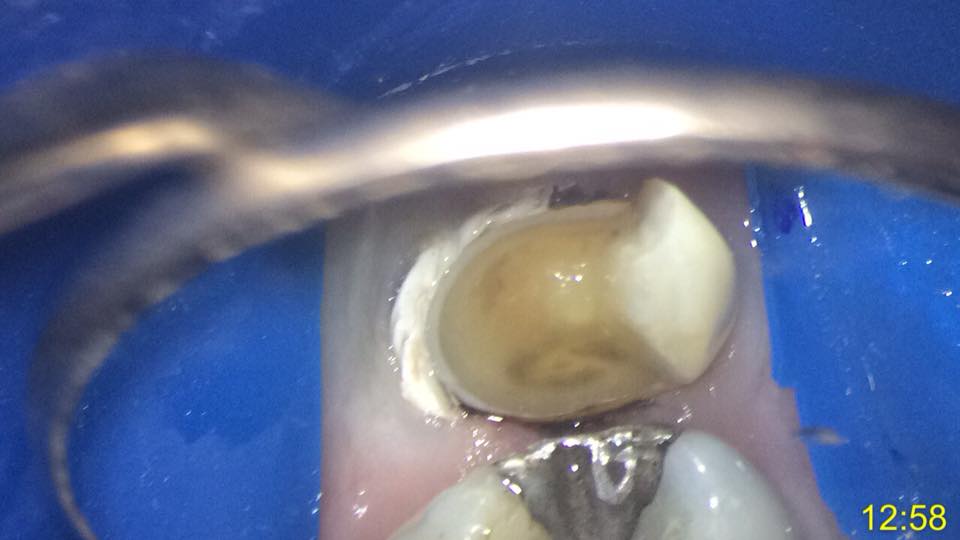
4. Digital impression
Optispray is a powder used to spray on the teeth before taking a digital impression, which helps prevent light reflection for better details and accuracy.
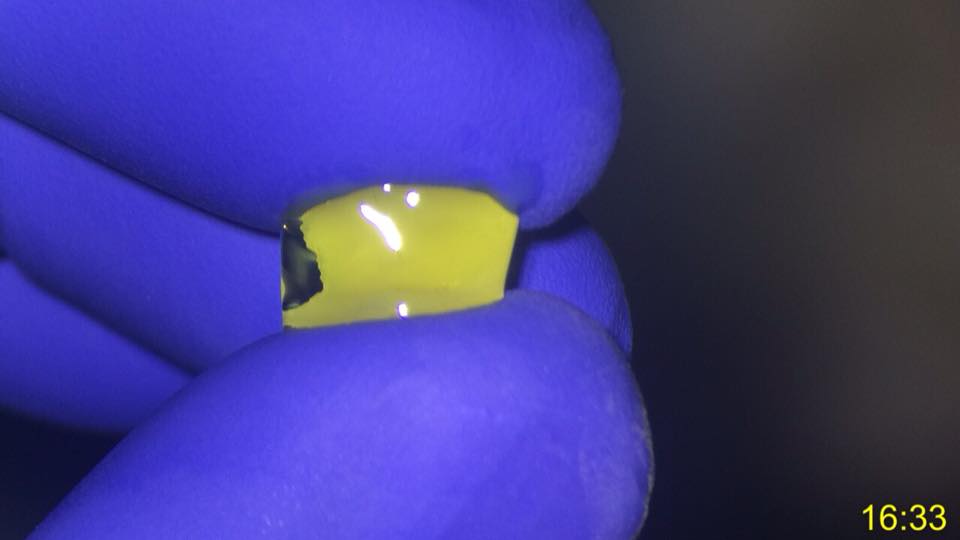
5. Digital Designing of the Inlay
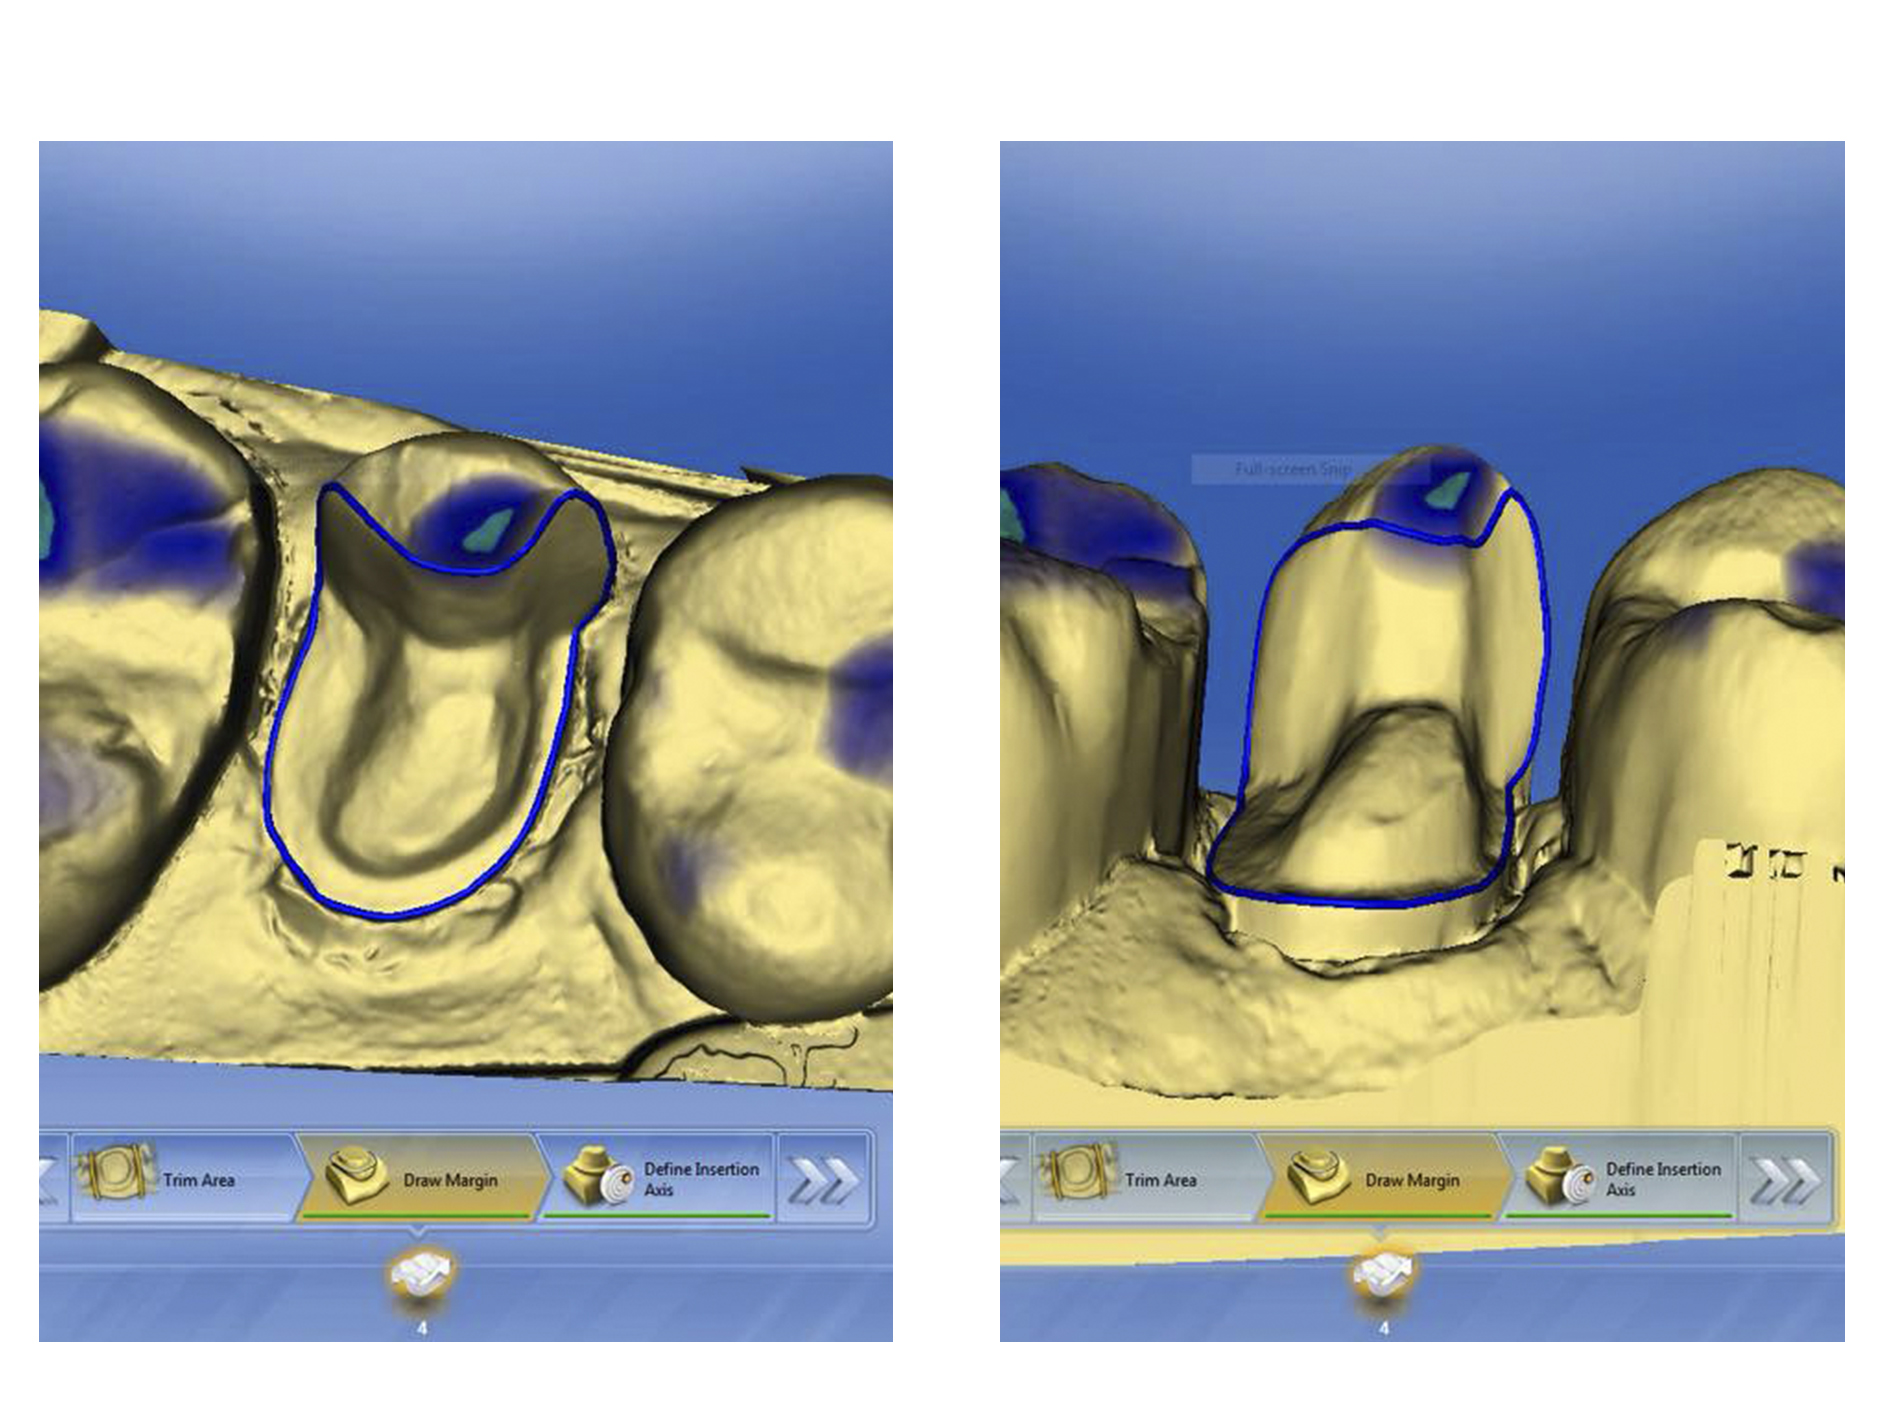
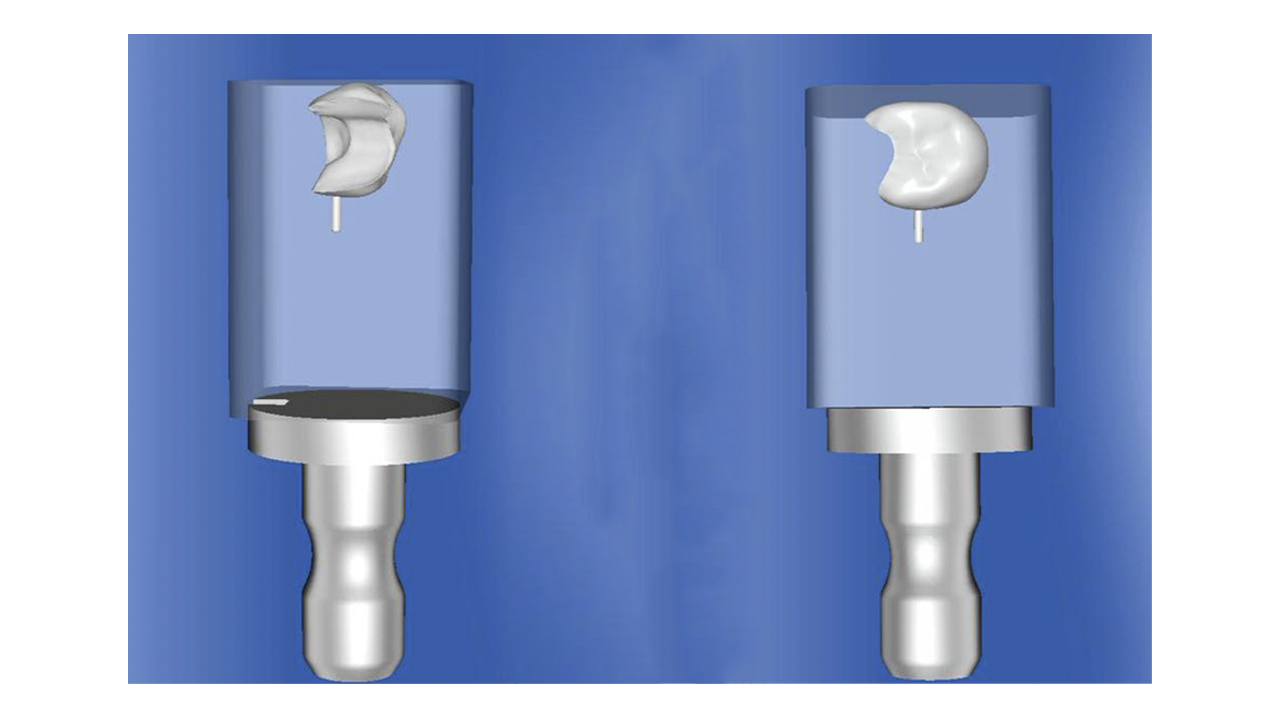
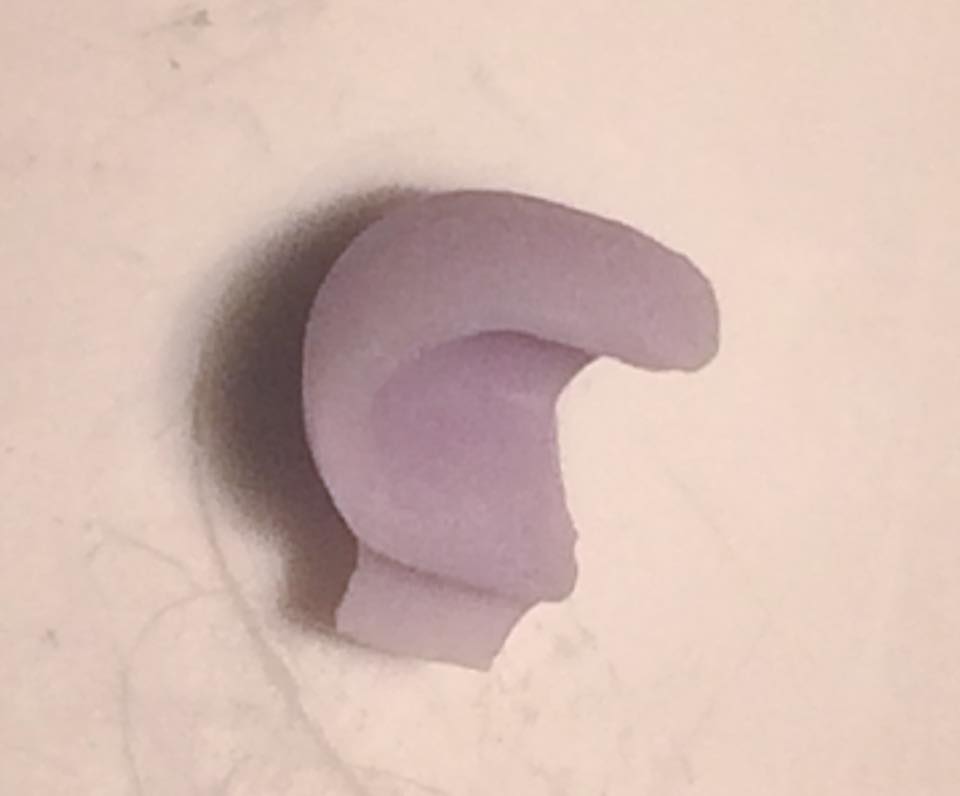
6. Milling of the Inlay
Visit 3: Restoration Placement & Cementation:
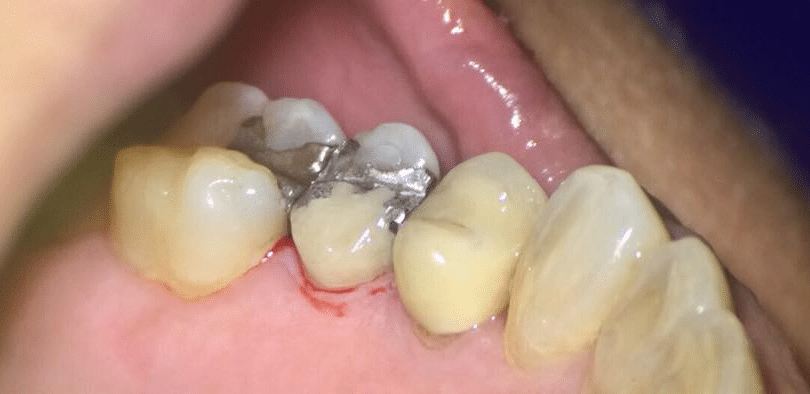
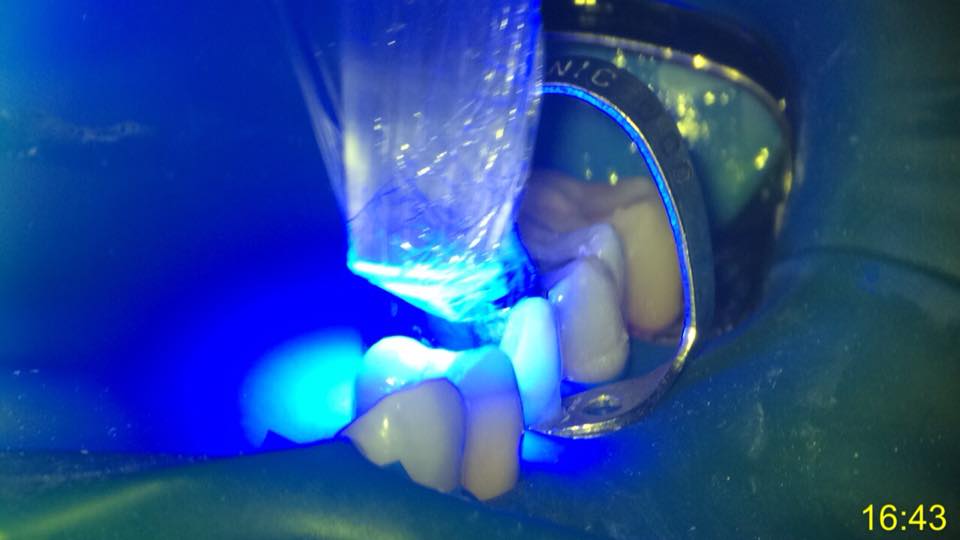
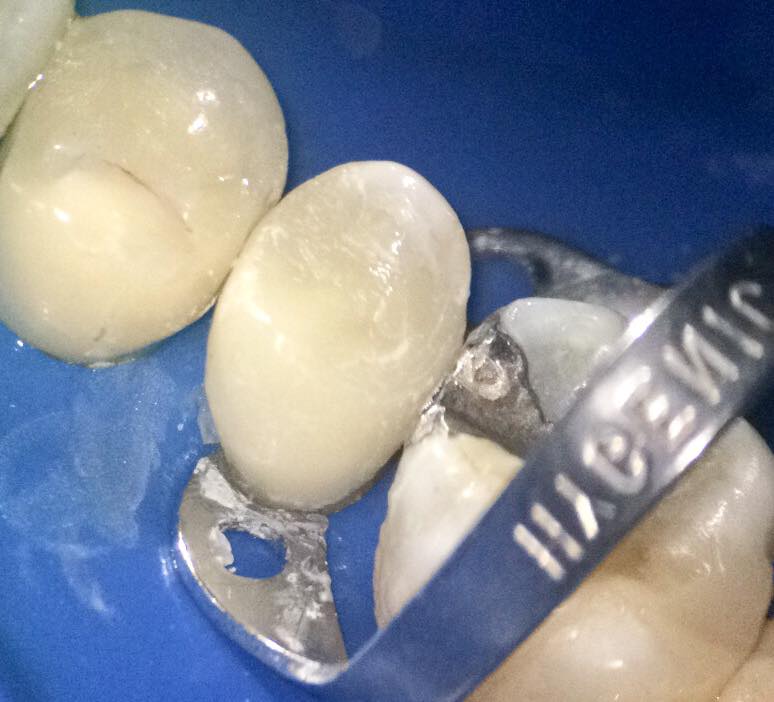
1. Tooth Isolation:
The use of rubber dam to offer proper isolation of the tooth surface before surface treatment.
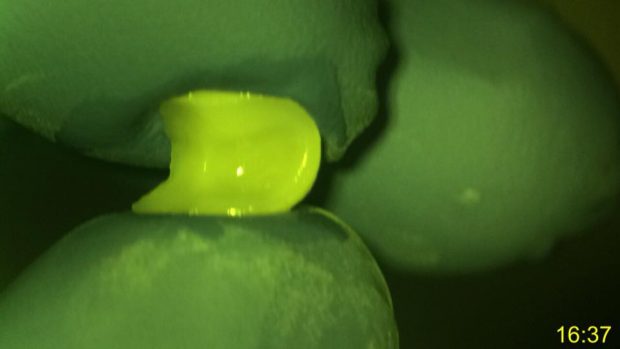
2. Inlay Surface Treatment
The inlay fitting surface is etched via hydrofluoric acid etched, Silanation is done and finally bonding placement and light cured.

Silanation: at the inner surface help promotes contact between resin cement and ceramic.*
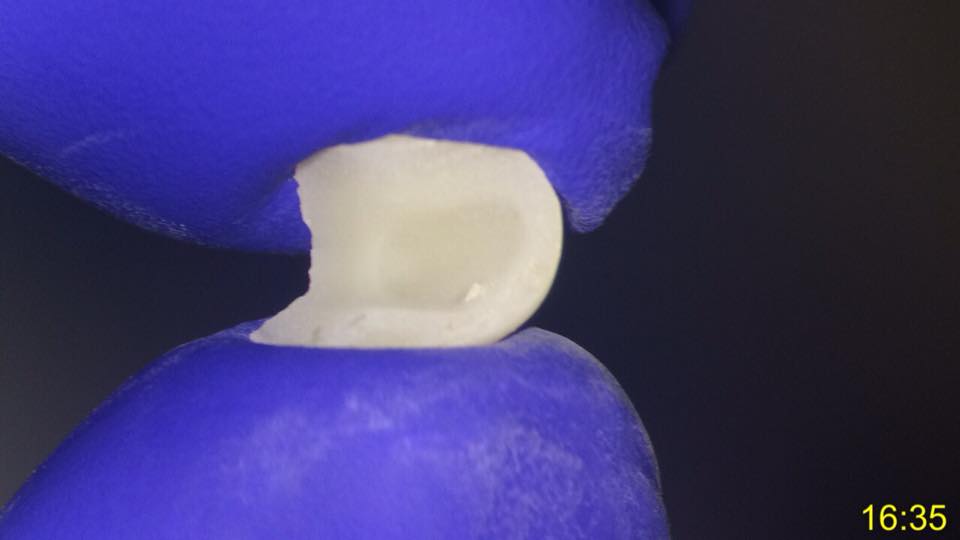
3. Tooth surface treatment
The Tooth surface is etched and then bonding is placed, then light cured.
4. Inlay Placement & Curing
A dual cure resin cement (G-Cem) is placed than cured.
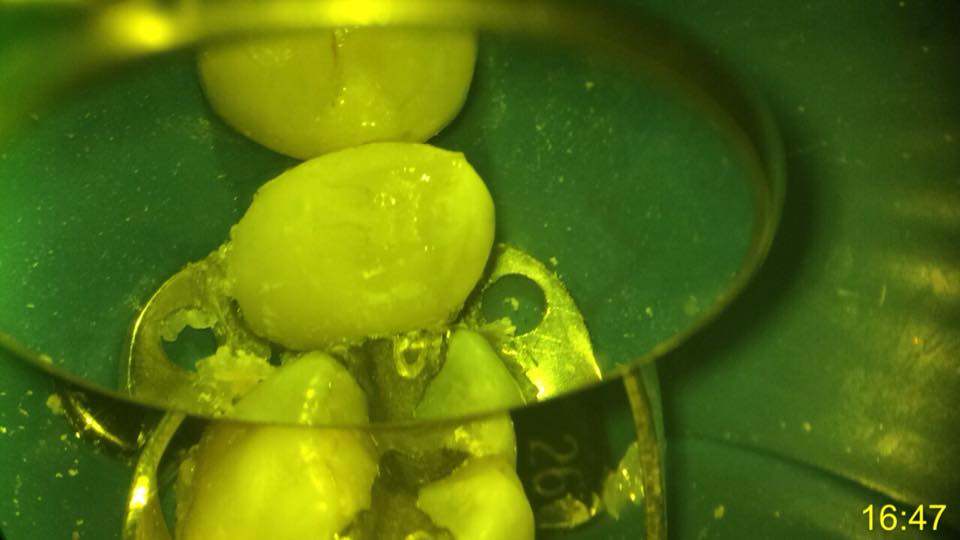
5. Finishing
After the cement is placed and cured, it’s important to make sure the there is no excess cement ( especially in the proximal areas). Polishing is performed.
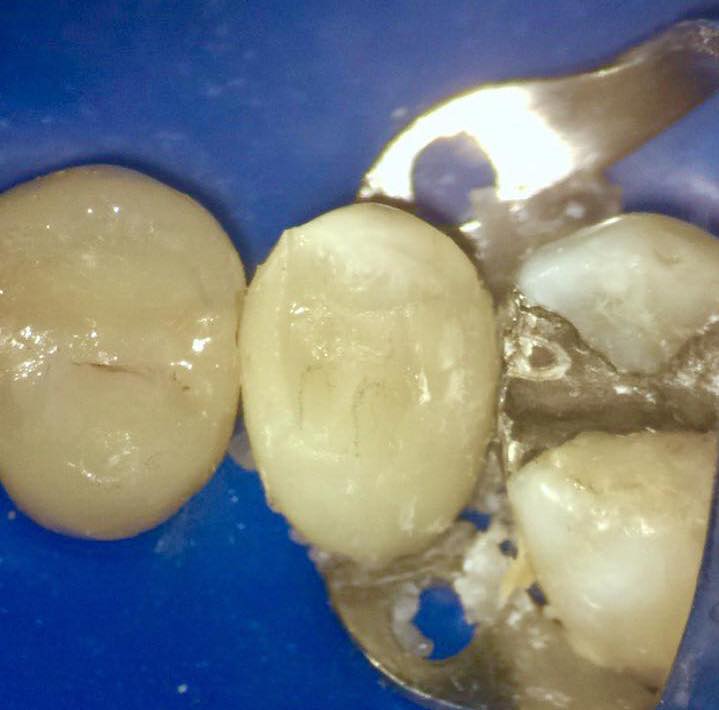
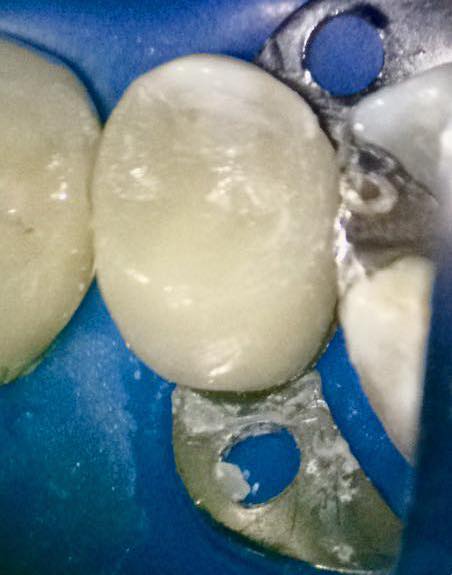
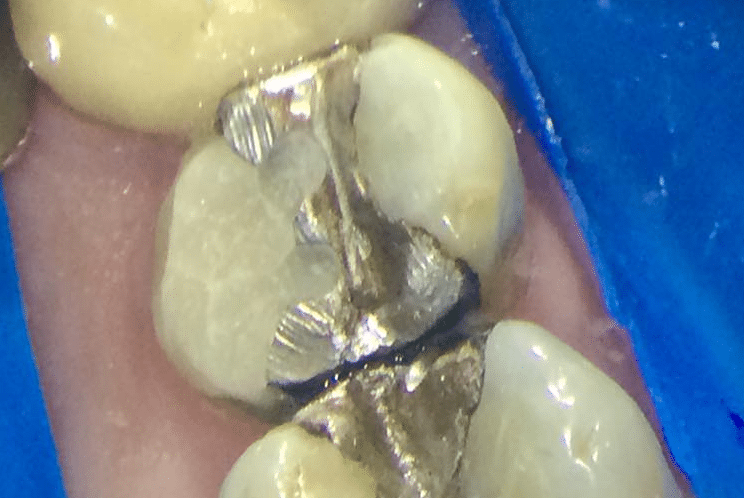
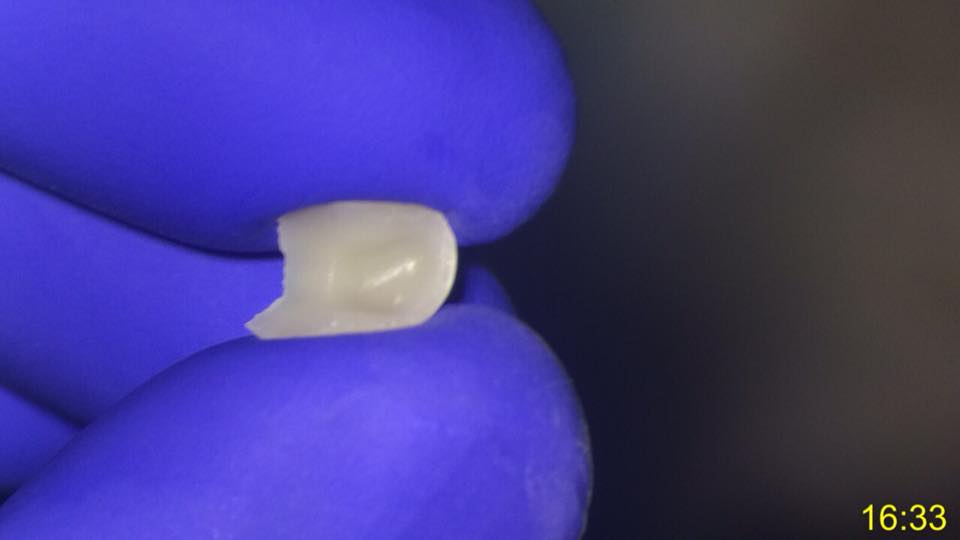
6. Final View
The final restoration after finishing and polishing
Special thanks to Dr. Ashraf Samir Refai for allowing us to post and publish his case.
Disclaimer: The patient had no objection to publishing this case as long as it didn’t identify her.
Sources:
- Case By Dr. Ashraf Samir Refai, Egypt
- DR. Julia Nemes. link here (*)
- Video on YouTube, Link Here